Stereo Cabinet Restoration Tips
The stereo cabinet style is the first impression that you have of your stereo console and your guests will be substantially influenced by what they first see. Whether you have a dark walnut high-gloss finish or a white pine matte finish, we offer you specific stereo cabinet restoration tips to help you achieve the dream look you want.
Cabinet Refinishing
The number one request that we get is to refinish a stereo cabinet. This is definitely possible but what’s important to realize is that all of these cabinets have a walnut veneer finish. Veneer is typically 1/16″ thick on these cabinets so if the cabinet is sanded too much, the underlying MDF starts to show through. This means that there’s only one refinishing possible.
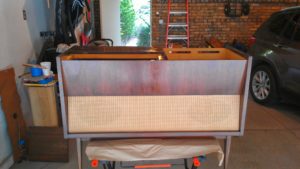
We restored our own Grundig SO 302 and have the following pictures of each step of the process:
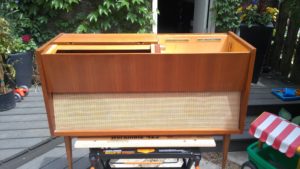
We began by using an orbital sander with a 220 grit paper to take off the original finish in a controlled fashion. Since this specific console has so many straight lines, it was relatively easy to sand.
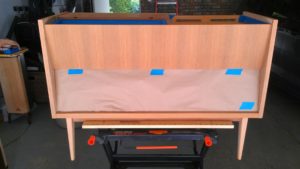
The grill cloth was a challenge to protect, but the I unscrewed a few screws on the inside to loosen the board holding the grill cloth tight. Then I covered the grill cloth with some brown paper that’s like a brown recycling bag thickness.
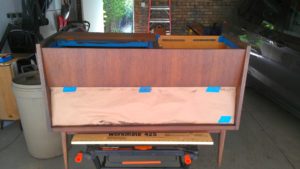
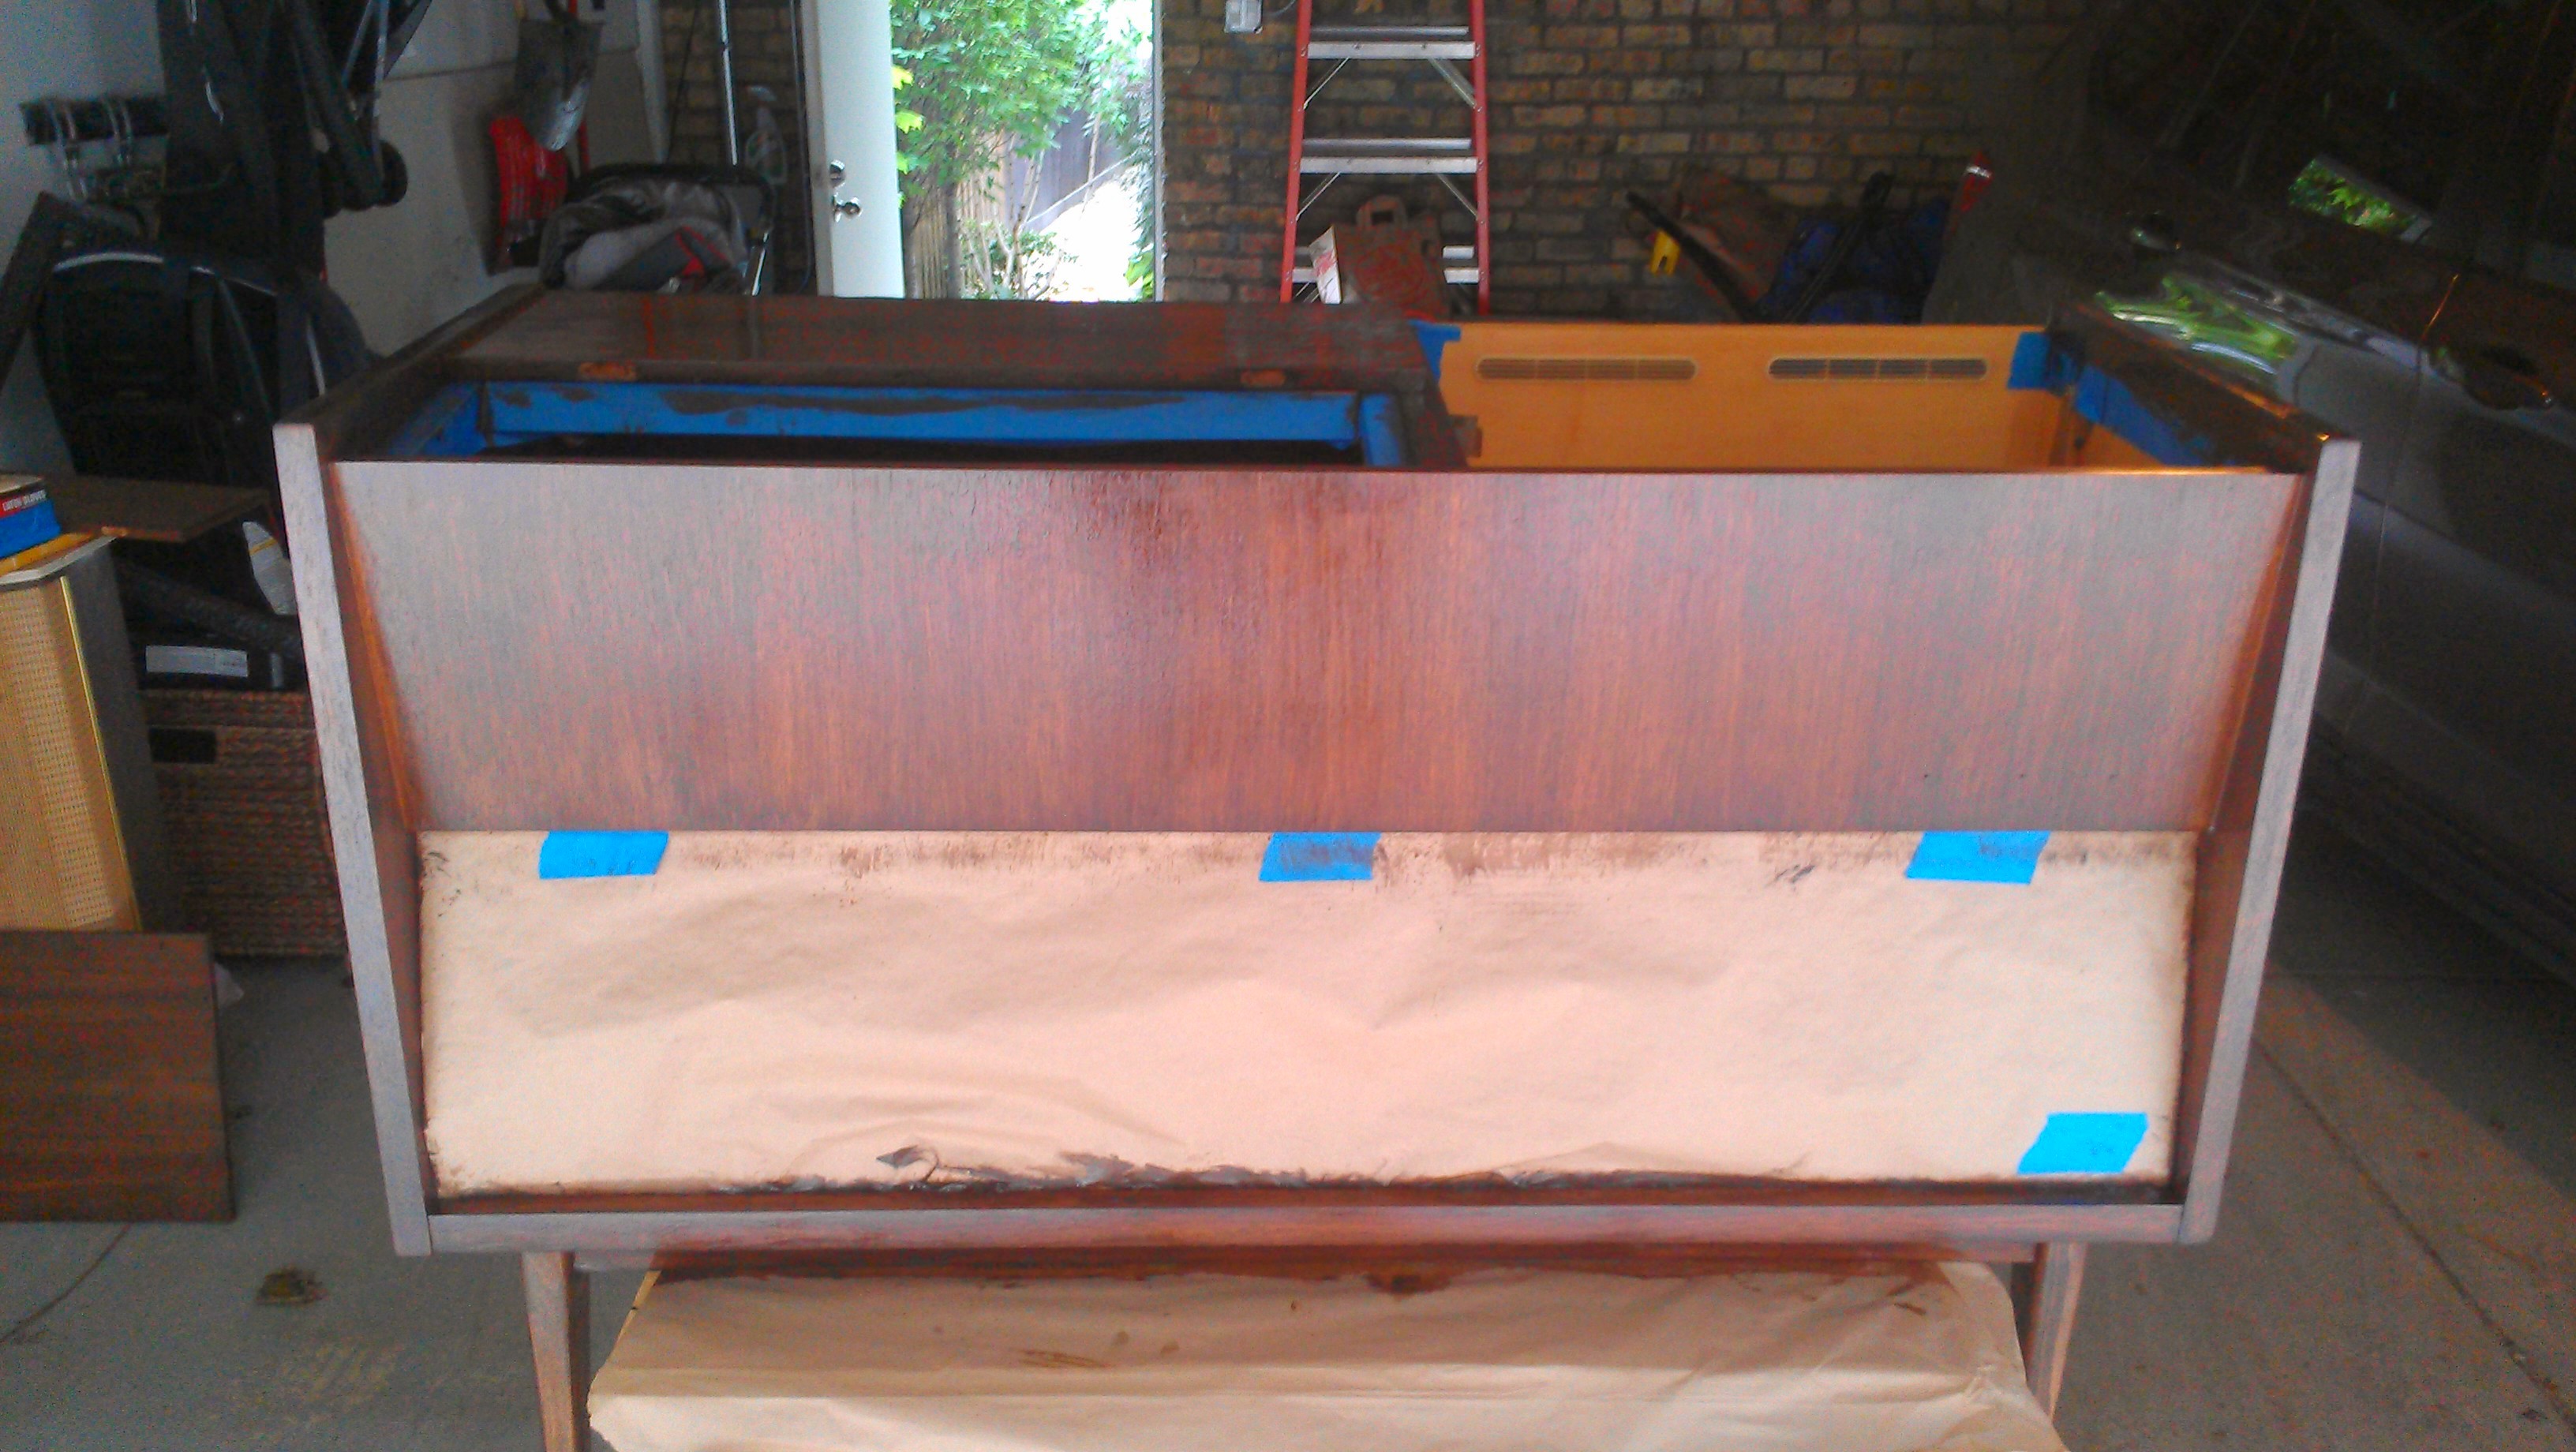
We chose the darker stain for a more modern look. Coincidentally, our floors used the same stain so we had an idea what the output would look like.
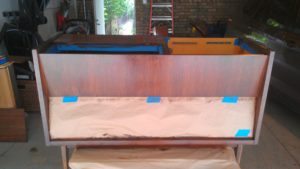
Finally, we applied several coats of satin polyurethane to protect the stain and give a slight shine. This was a little tricky to get a nice flat finish without air bubbles in the final finish.
Speaker Cloth
Frequently, the speaker cloth has a mark or spot on it that blemishes the overall look. This is clearly annoying, but definitely not a deal breaker for an otherwise gorgeous piece of history and future.
